You’ve decided the pipes have to go, and you want to picture what the next few weeks look like. This post is an illustrative walkthrough, not the record of a real job. It follows how a typical Dallas repipe of a one-story slab house would usually run, from the photos you gather before our first visit to the walkthrough at the end. The house, its symptoms and the choices below are an example built to show the sequence.
Fullbore Dallas Repiping replaces water supply lines in Dallas homes, including whole-house repiping. Every house is different, and the details of a real job come from our own visit and your written estimate.
The example house
Picture a one-story brick ranch on a slab, built in the early 1960s in a northeast Dallas neighborhood. It has two bathrooms, a kitchen, a laundry closet and a gas water heater in the garage. The original supply piping is a mix: galvanized steel where the lines come into the house, copper branches running in or under the slab, and a few sections replaced after past leaks.
The owners in this example have had two slab leaks repaired in three years, the hall bath sink runs weakly, and the first hot water from the tub comes out tinted. None of that proves a single cause, which is why the first visit measures before it concludes. Our repair or repipe guide covers how a pattern like that gets weighed.
Before the first visit: photos and a leak history
The owners do two things before the visit, both from safe spots they can already reach.
A short photo set
- The water heater, including the pipe connections on top and any printed markings.
- The main shutoff and where the line enters the house.
- The pipes under each sink and at the washer box, with a wide shot showing where they sit.
- The attic hatch and what’s visible from the ladder, without climbing in.
- Any stains, repaired ceilings or patched walls.
They don’t cut drywall, move insulation or crawl into the attic for a better look. If a pipe is hidden, they say so. Photos give context; they aren’t a diagnosis. Our repiping assessment tool asks the same questions.
A dated leak history
They write one line per event: date, room, hot or cold, where the source was confirmed, what was repaired, and the invoice. They keep confirmed pipe leaks separate from stains whose source was never found. “Two slab leaks on the hot side within three years” tells us far more than “we’ve had leaks.” Our recurring pinhole leaks guide explains why the pattern matters.
The first visit and the written estimate
In the example, our visit starts at the main shutoff and the water heater. We read static pressure at a hose bib, note the PRV, check the attic for space and insulation depth over each bathroom, and identify the visible pipe materials. Our pipe identification guide shows what can be read from the outside.
The written estimate for the example names PEX-A with expansion fittings, a trunk-and-branch layout through the attic, a new full-port main shutoff, new angle stops, reconnection of the water heater with a thermal expansion tank, a DallasNow permit, a pressure test, a flush, and patch and texture with paint excluded. The under-slab lines are abandoned in place and noted. Our quote comparison guide lists the lines an estimate like this should cover.
Getting the rooms ready
The owners clear the hallway, the bathroom vanities and the garage wall by the water heater, and move fragile items and wall hangings away from the marked openings. They agree with us which bathroom stays usable in each phase, plan for the dog to stay in a closed room, and name one person who can approve any change. Our water shutoffs guide covers the household side.
Running the new pipe
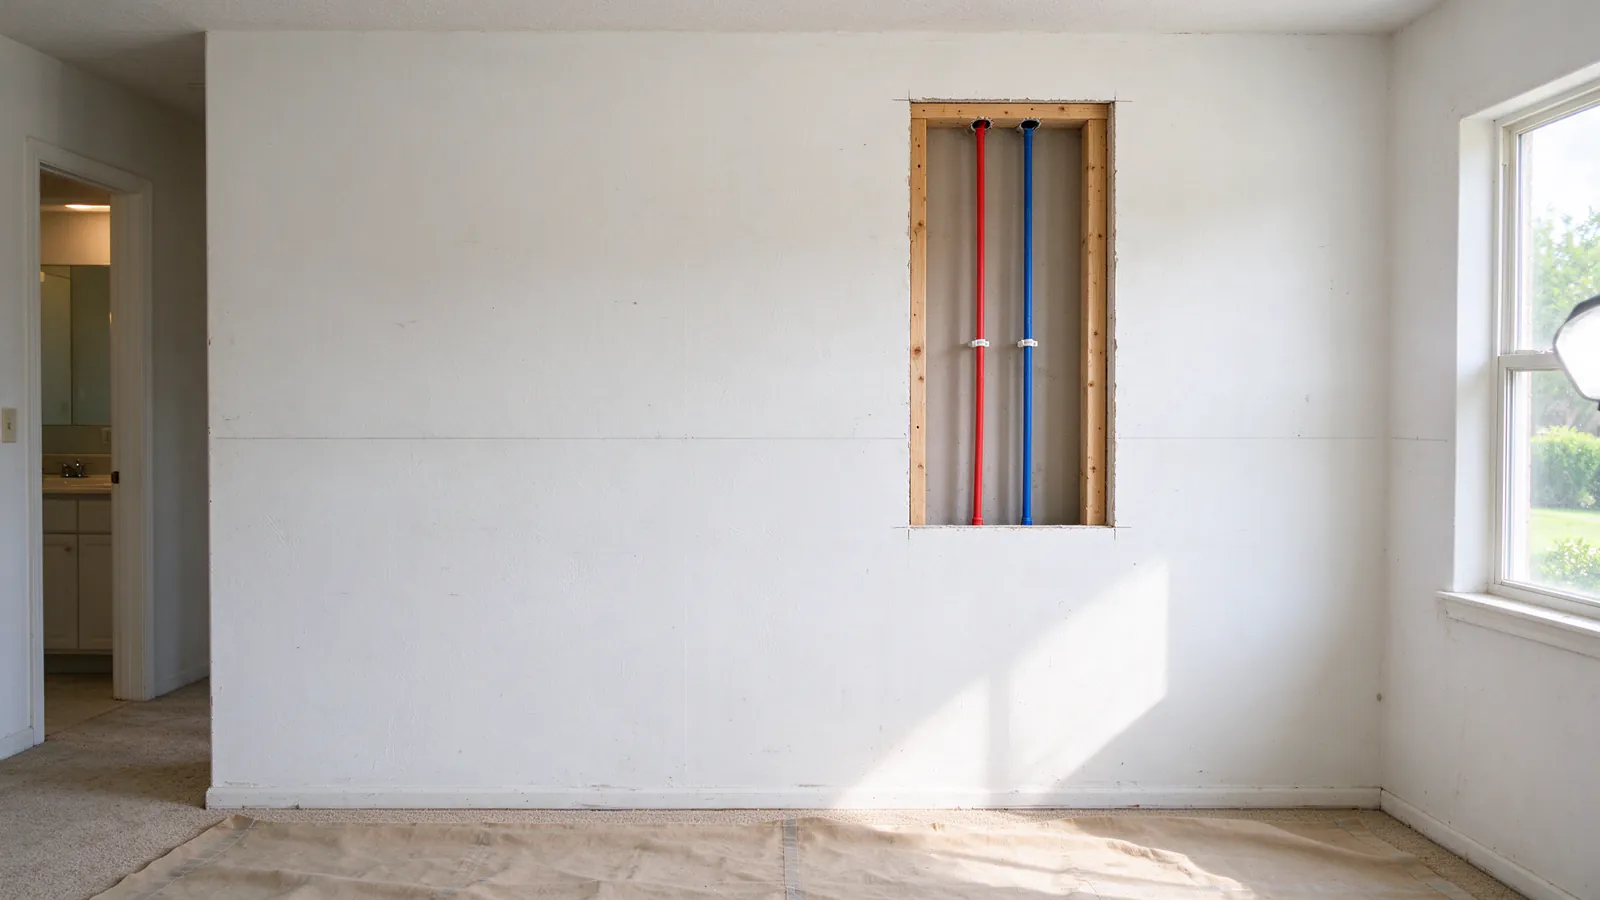
Floors and furniture get covered. Openings are cut at the tops of the bathroom walls, behind each fixture and at the laundry box. The new trunk runs through the attic, low and under the ceiling insulation, away from the eaves, and drops into each wall. Lines are supported, sleeved through framing and insulated where they can’t be buried. Our attic routing guide explains why.
The old system keeps running the whole time. Water goes off for the tie-in at the main and the water heater, then bathroom by bathroom.
Testing, inspection and flushing
With everything connected, the new piping is pressure tested while the walls are still open. The City of Dallas coordinates plumbing rough and final inspections, and in the example the rough inspection passes before any opening is closed. Lines are flushed, aerators and showerhead screens cleaned, and every stop checked for drips. Our process and timeline guide shows the order.
Closing the walls
Openings are patched, taped and textured to match the existing knockdown. Paint is the owners’ job in this example, because the estimate said so. Our wall openings and drywall guide explains the restoration levels.
The final walkthrough
At the end, the owners walk the house with the estimate in hand. They run each fixture hot and cold, look for drips at the stops, check that the main and branch shutoffs are labeled, confirm the final inspection is recorded and photograph each closed opening. They file the permit number, the tubing maker’s information, the warranty documents and a note that the under-slab lines were abandoned in place.
What to take from the example
The sequence matters more than the details. Gather safe photos and a leak history, get a written estimate, plan the shutoffs, keep walls open until inspection, then close up and keep the paperwork. Our Dallas home repiping guide covers each step in depth, and you can get an estimate for your own house.